")


Growing Cannabis In Canada
The Art of Transplanting Cannabis Seedlings for Optimal Growth
The Art of Transplanting Cannabis Seedlings for Optimal Growth
Transplanting cannabis seedlings can seem like a daunting step for new growers, but it’s a crucial milestone in cultivating healthy, robust marijuana plants. When done properly, it helps optimize root development, prevents stunted growth, and sets the stage for bigger yields. This comprehensive guide will walk you through everything you need to know—timing, techniques, and post-transplant care—to ensure your weed seeds (especially if you’re using feminized seeds) transition smoothly and thrive in their new environment.
Below, you’ll find detailed instructions and best practices broken down under easy-to-follow headings. By the time you finish reading, you’ll be ready to give your cannabis seedlings the best possible start, whether you’re working with a classic marijuana strain or experimenting with new genetics.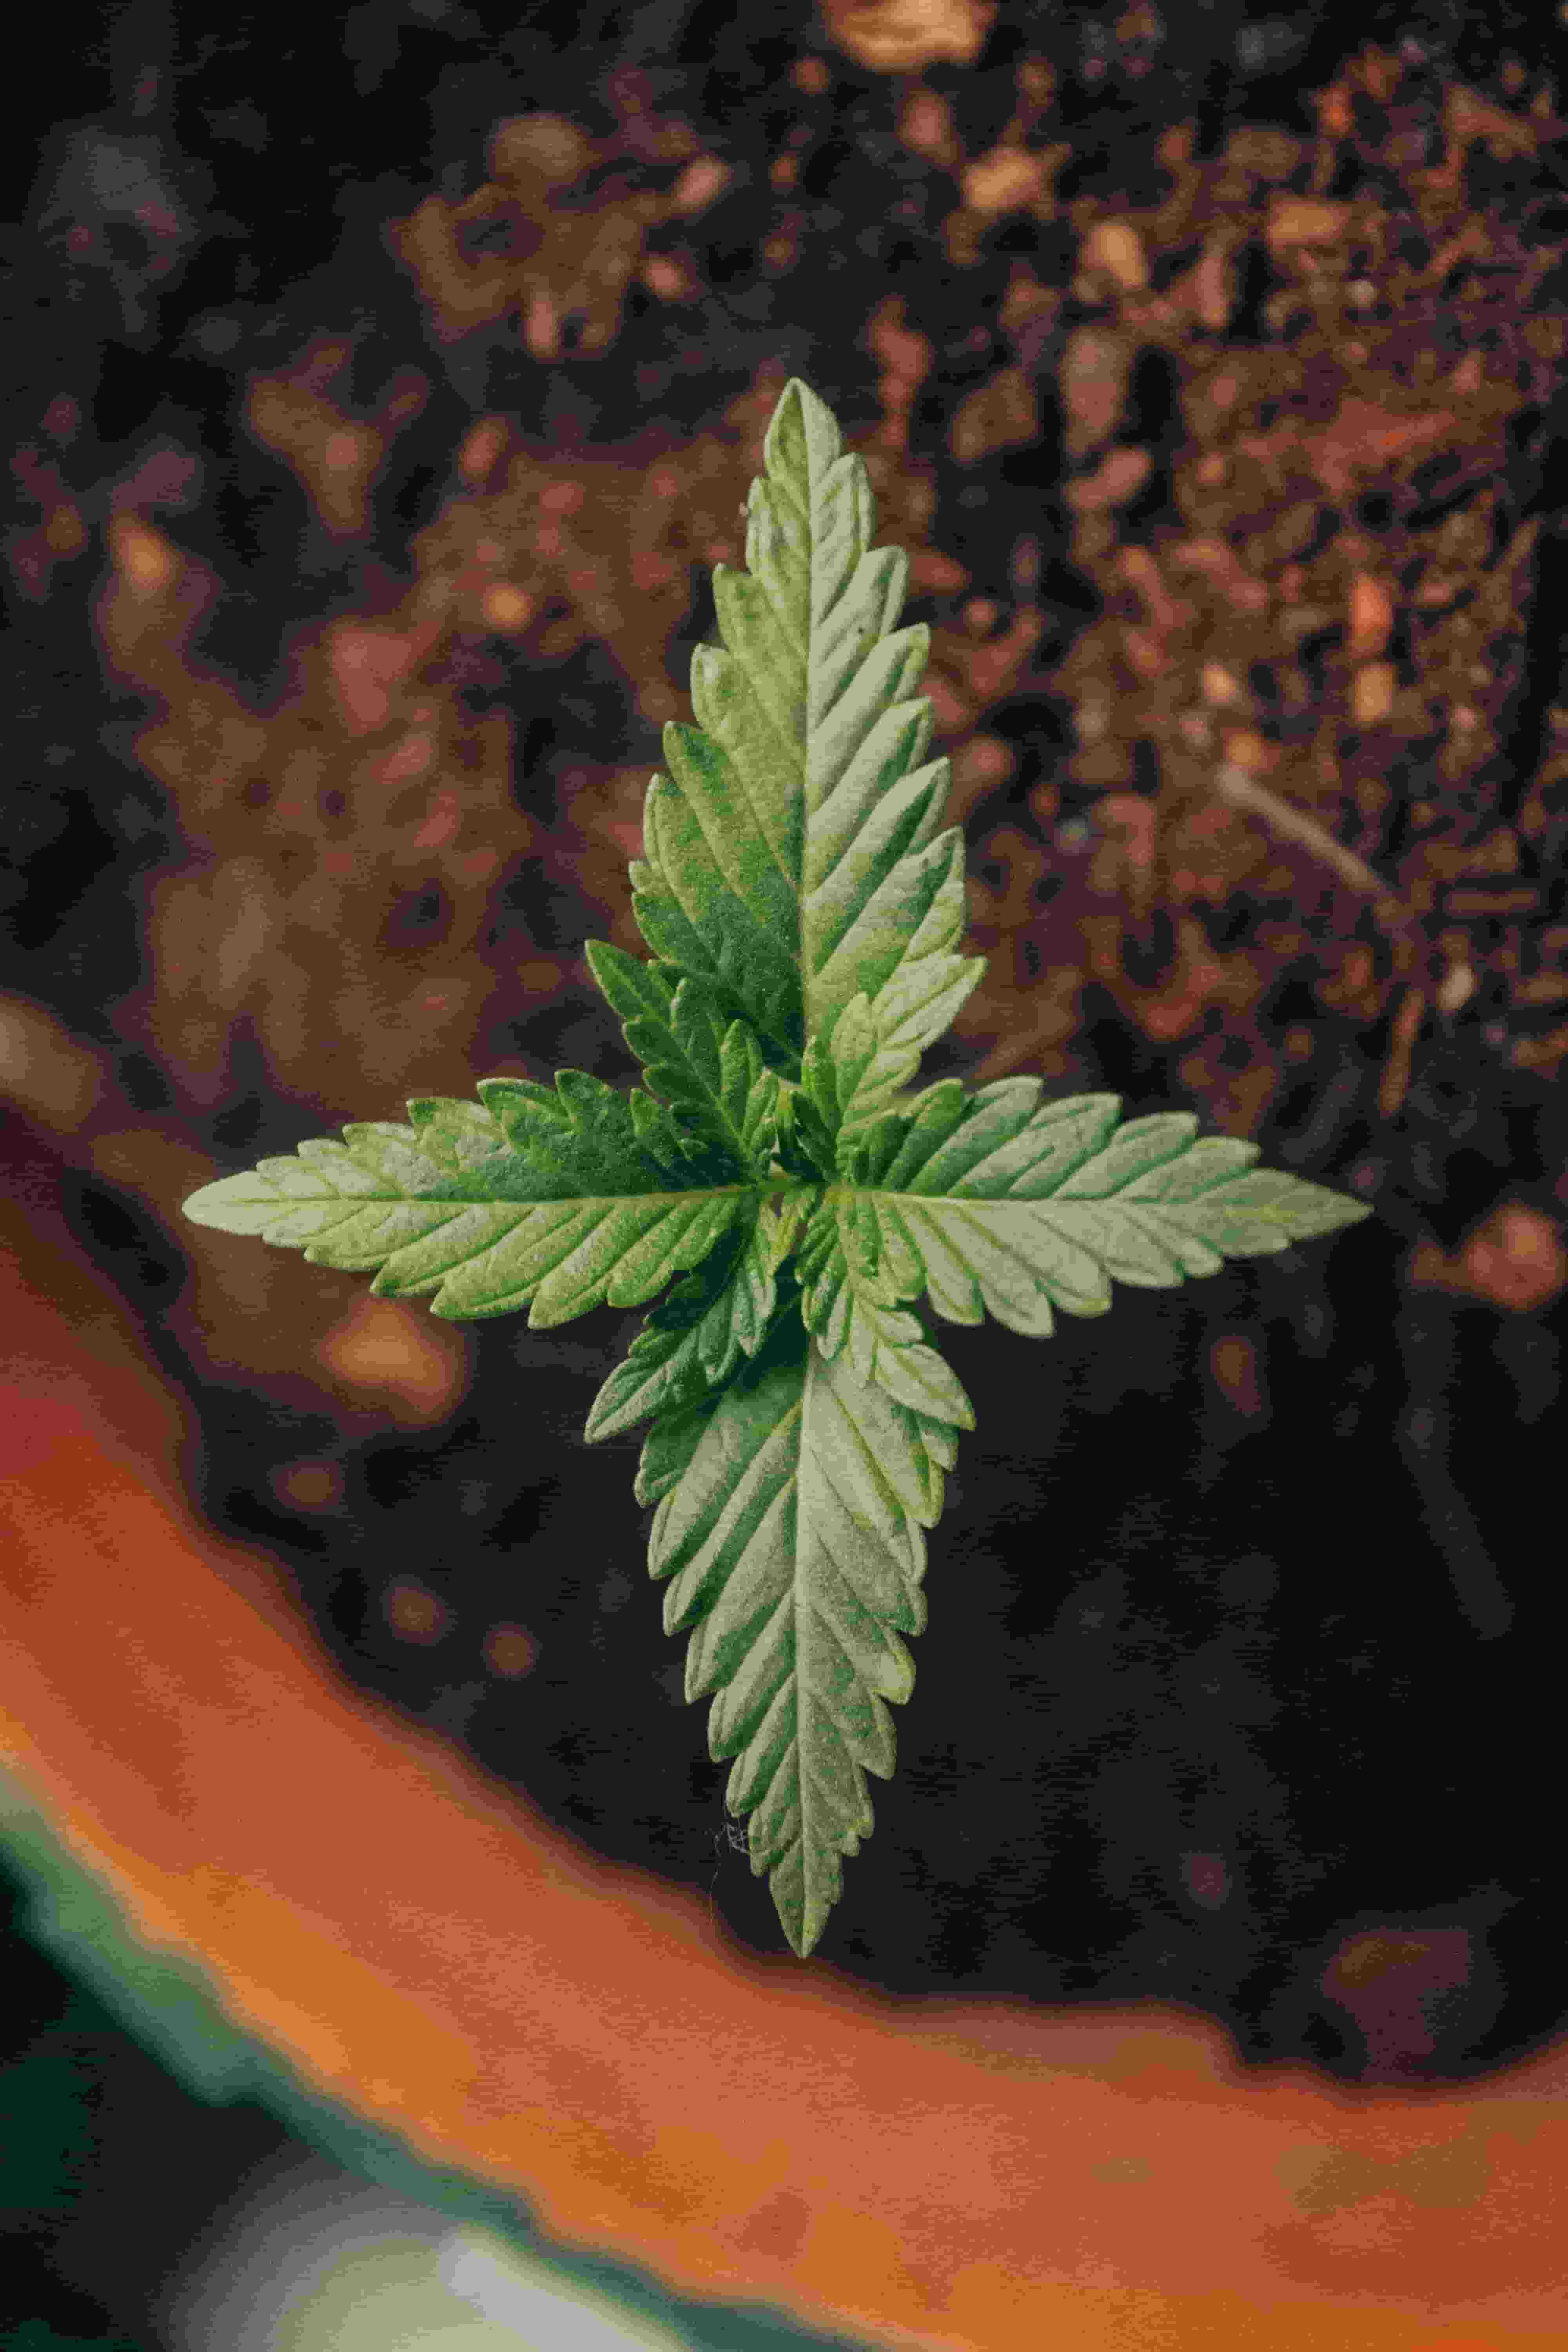
Understanding the Basics of Cannabis Seedlings
Cannabis seedlings represent the earliest stage of your marijuana plant’s life cycle, typically spanning from germination until the plant forms its first set of true leaves. When you plant weed seeds, they initially rely on the stored energy within the seed to sprout and push out the first embryonic leaves (cotyledons). Here are some key points to remember at this initial phase:
- Root Development: The seedling’s root system is in its infancy. Roots are fragile and susceptible to damage, making gentle handling crucial.
- Leaf Formation: Seedlings will typically show their first set of serrated leaves within 7-10 days after germination. You should monitor these leaves for color and vigor to ensure your seedling is healthy.
- Nutrient Needs: At this stage, seedlings require minimal nutrients. Overfeeding can lead to nutrient burn and shock.
Because they are delicate, it’s essential to time your transplant accurately and prepare the right environment to avoid stressing your young marijuana plants. This foundational understanding of seedling biology sets the stage for knowing precisely when and how to transplant.
When to Transplant Cannabis Seedlings
Timing can make or break your transplant success. While there isn’t a one-size-fits-all timeline, certain indicators will help you determine when your weed seeds have matured enough to be moved to a bigger pot or final outdoor location. Typically, you should look for the following signs:
- Leaf Count: Most growers wait until the plant has 3-5 sets of true leaves. This often means the seedling is sturdy enough and has a somewhat developed root system.
- Root Visibility: If you’re starting seeds in a small, transparent cup or seedling tray, you may notice roots circling the bottom or sides. This indicates the plant is root-bound and needs more space.
- Growth Rate: A healthy seedling will show steady new growth every few days. If you see slowed growth, it might be running out of room for root expansion.
Waiting too long can result in root-binding, stunted growth, or nutrient issues. On the other hand, transplanting too early risks damaging underdeveloped roots. Aim for that sweet spot where the plant is neither too small nor overly large for its current container.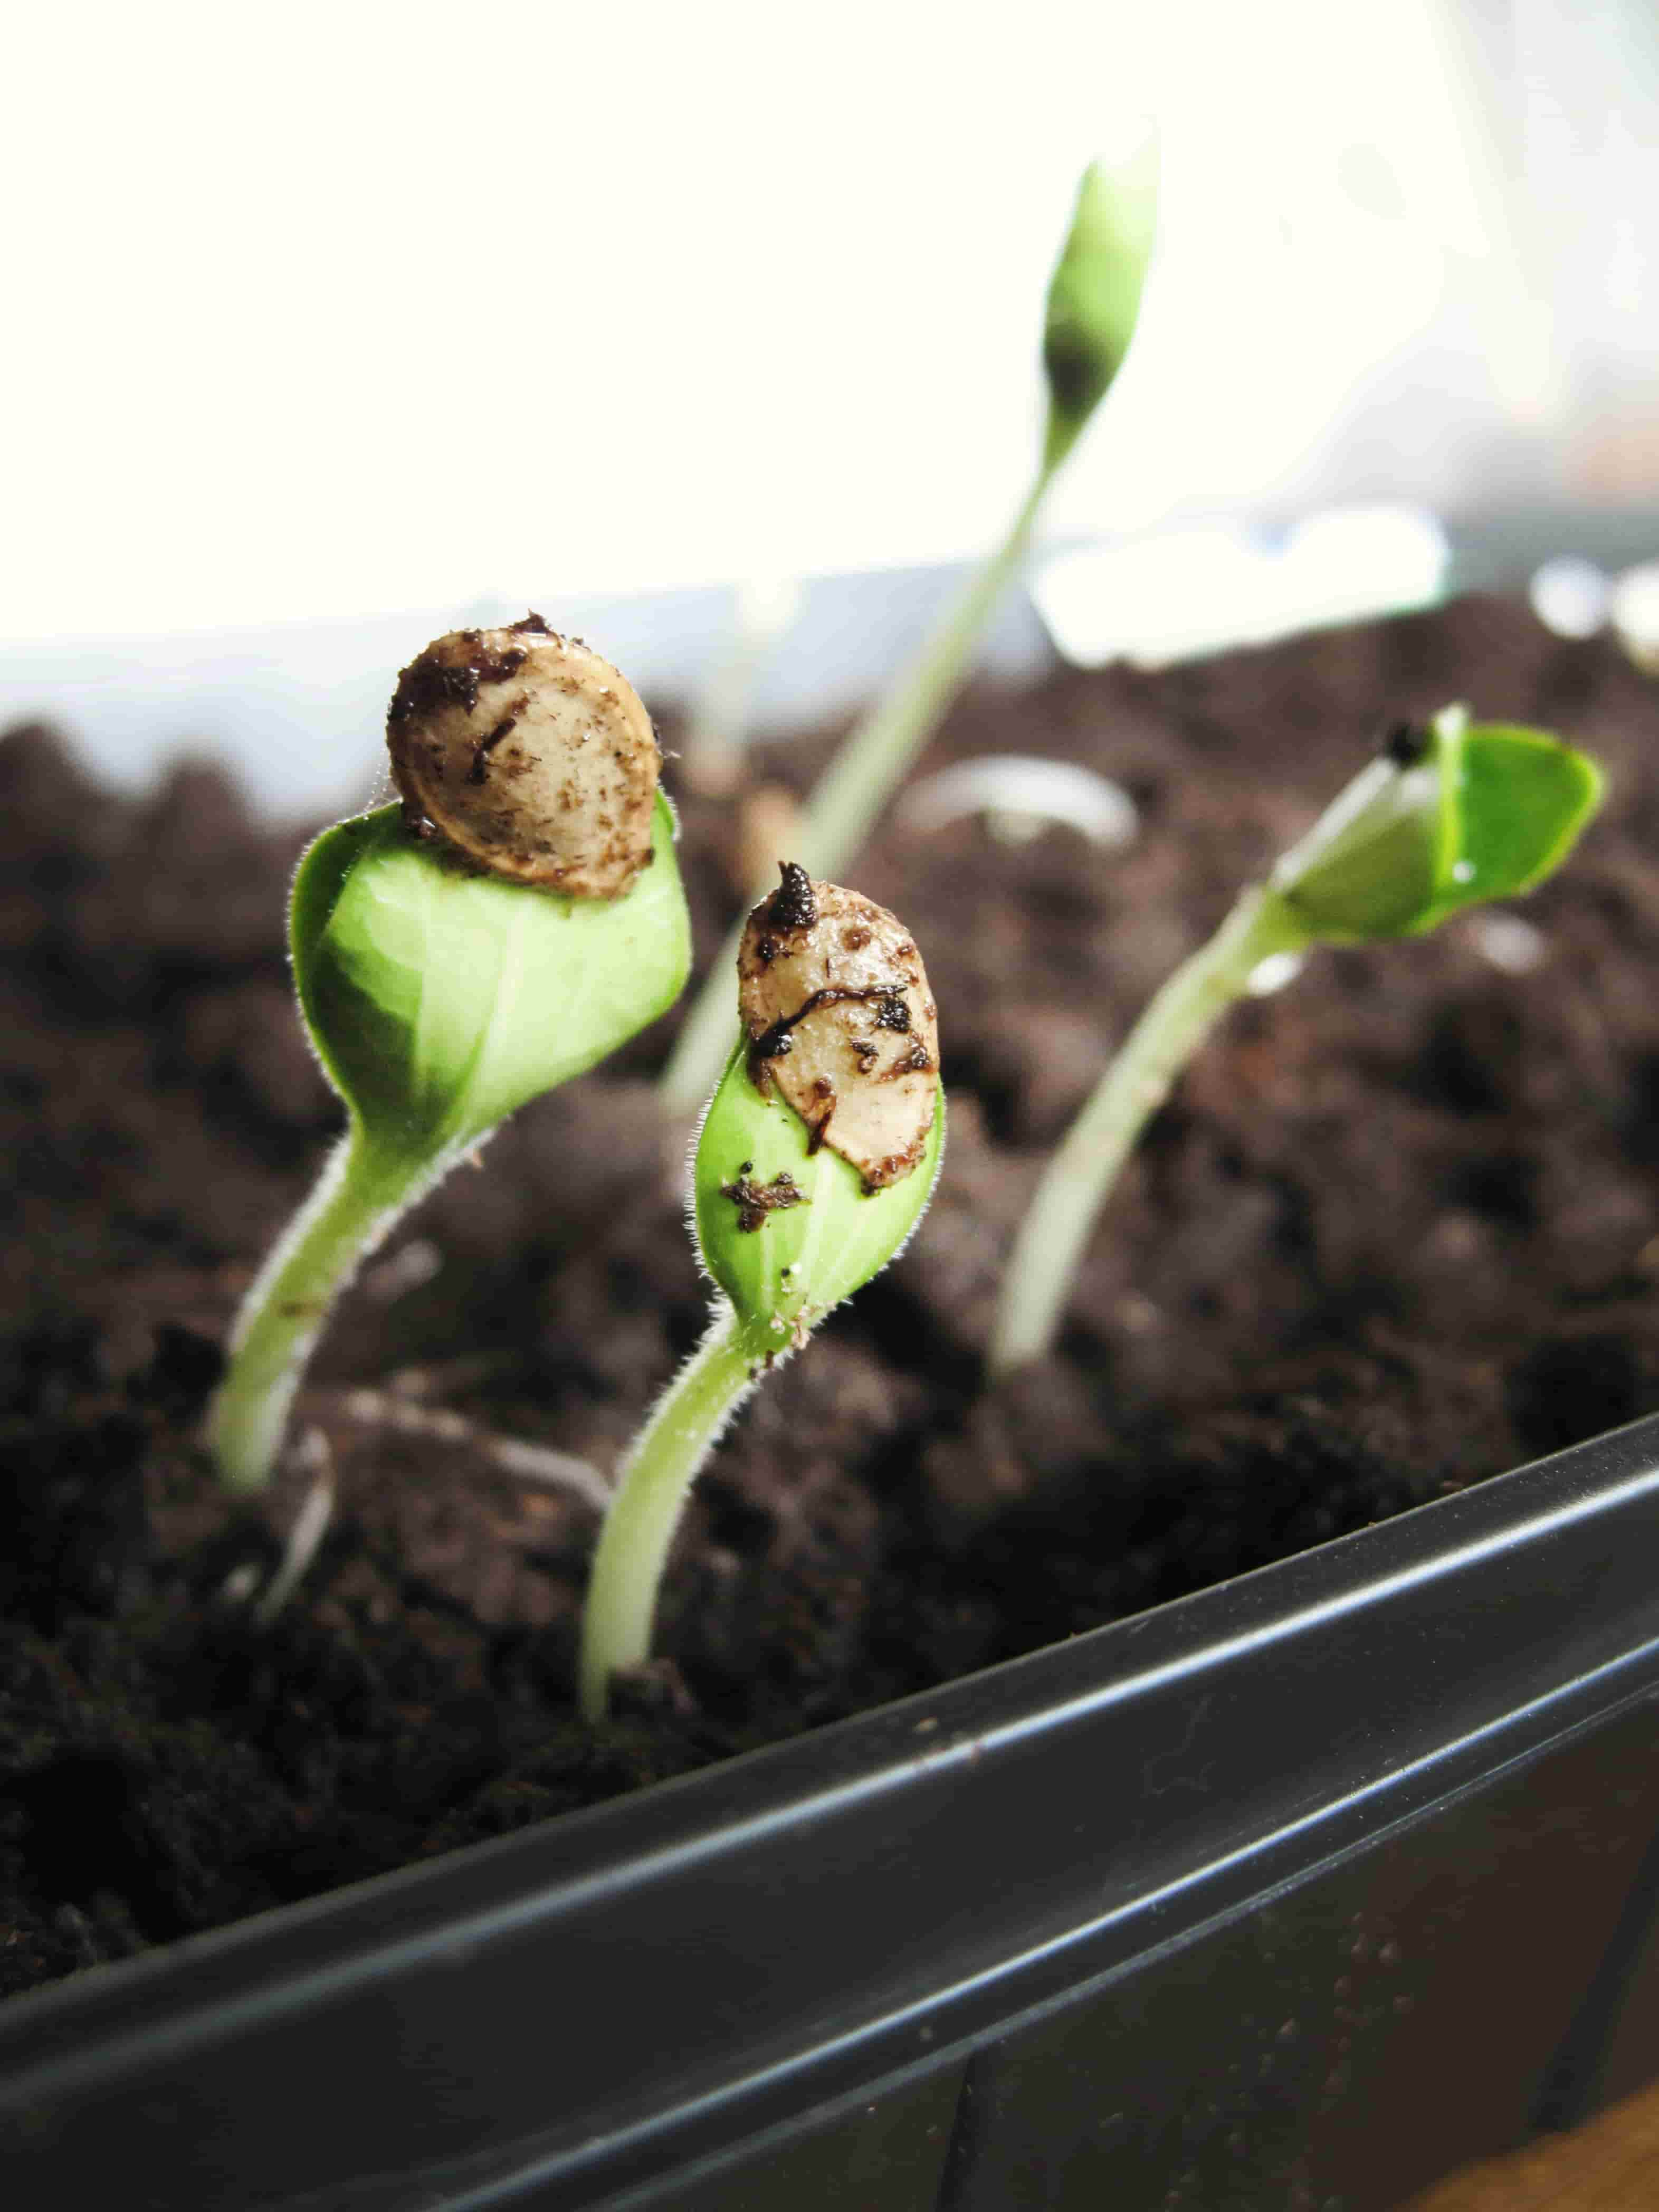
Choosing the Right Container
Cannabis containers come in a variety of materials—fabric pots, plastic pots, clay pots, and more. The goal is to match your marijuana strain’s growth habits and your cultivation setup. Here are some considerations:
- Size: If you plan to transplant once more before flowering, a medium-sized pot (1-3 gallons) might suffice. If you’re placing the seedling in its final home, opt for 5-10 gallons or larger, depending on your grow space and plans.
- Material:
- Fabric Pots (Smart Pots): Excellent drainage and aeration, helping prevent overwatering.
- Plastic Pots: Retain moisture well, but make sure they have adequate drainage holes.
- Clay Pots: Porous, allowing roots to breathe, but can dry out faster and are heavier to move.
- Drainage: Cannabis roots hate standing water. Ensure your pot has multiple drainage holes to prevent root rot.
- Mobility: If you plan on moving plants around, consider using lighter materials such as plastic or fabric pots, as clay can be quite heavy when filled with soil.
Your choice of container plays a significant role in how well your weed seeds develop into mature plants. Adequate space for root expansion is critical for a healthy root mass, which ultimately boosts nutrient and water uptake.
Soil and Growing Medium Preparation
Before you even consider moving your marijuana seeds into their next pot, preparing the right soil or growing medium is crucial. The medium you select should strike a balance between water retention, aeration, and nutrient availability. Common choices include:
- Soilless Mixes: Often a combination of peat moss, coco coir, perlite, and vermiculite. These are typically inert and require careful nutrient management.
- Compost-Enriched Soil: Organic matter-rich soil that can provide slow-release nutrients. A well-balanced soil blend often requires fewer added fertilizers.
- Coco Coir: A popular soilless substrate that retains water well but also drains easily, making it a good choice for preventing overwatering.
Key Elements to Consider:
- pH Levels: Cannabis thrives in slightly acidic conditions—around 6.0 to 7.0 in soil. If you’re using a soilless mix, aim for a pH range of 5.5 to 6.5.
- Nutrient Content: Seedlings don’t require heavily fertilized soil. If your soil is too rich, it can burn young roots. Look for a mild or seedling-specific mix.
- Aeration: Incorporate perlite or vermiculite to ensure the soil doesn’t become compacted, inhibiting root growth.
Properly preparing your growing medium prior to transplant sets the stage for a smooth transition and rapid growth post-transplant.
Step-by-Step Transplanting Process
Once your cannabis seedlings have developed sufficiently, it’s time to transplant. This process involves a few key steps:
- Water Before Transplanting: Lightly water your seedling an hour or two before you move it. This helps the soil clump and keeps the root ball intact.
- Prepare the New Container: Fill your chosen pot with your prepared soil or growing medium. Make a hole in the center, large enough to accommodate the root ball.
- Loosen the Seedling: Gently squeeze the sides of the current container (if it’s pliable) or use a small trowel to free the root ball. Take care not to disturb the roots too much.
- Lift the Seedling: Support the seedling by the base of its stem or by a few leaves (never pull by a single leaf or the stem). Carefully remove the entire root ball from the old container.
- Place in the New Hole: Position the seedling so that it sits at roughly the same soil level as in the previous container. This prevents stem rot and other issues.
- Fill and Firm the Soil: Gently fill around the root ball with your growing medium, pressing lightly to remove any air pockets.
- Initial Watering: Give the plant a moderate watering with pH-balanced water. Avoid overwatering, as the seedling may still be adjusting to its new environment.
Transplanting can be stressful, but a careful, methodical approach will minimize shock. Make sure your movements are smooth and deliberate to keep the roots intact.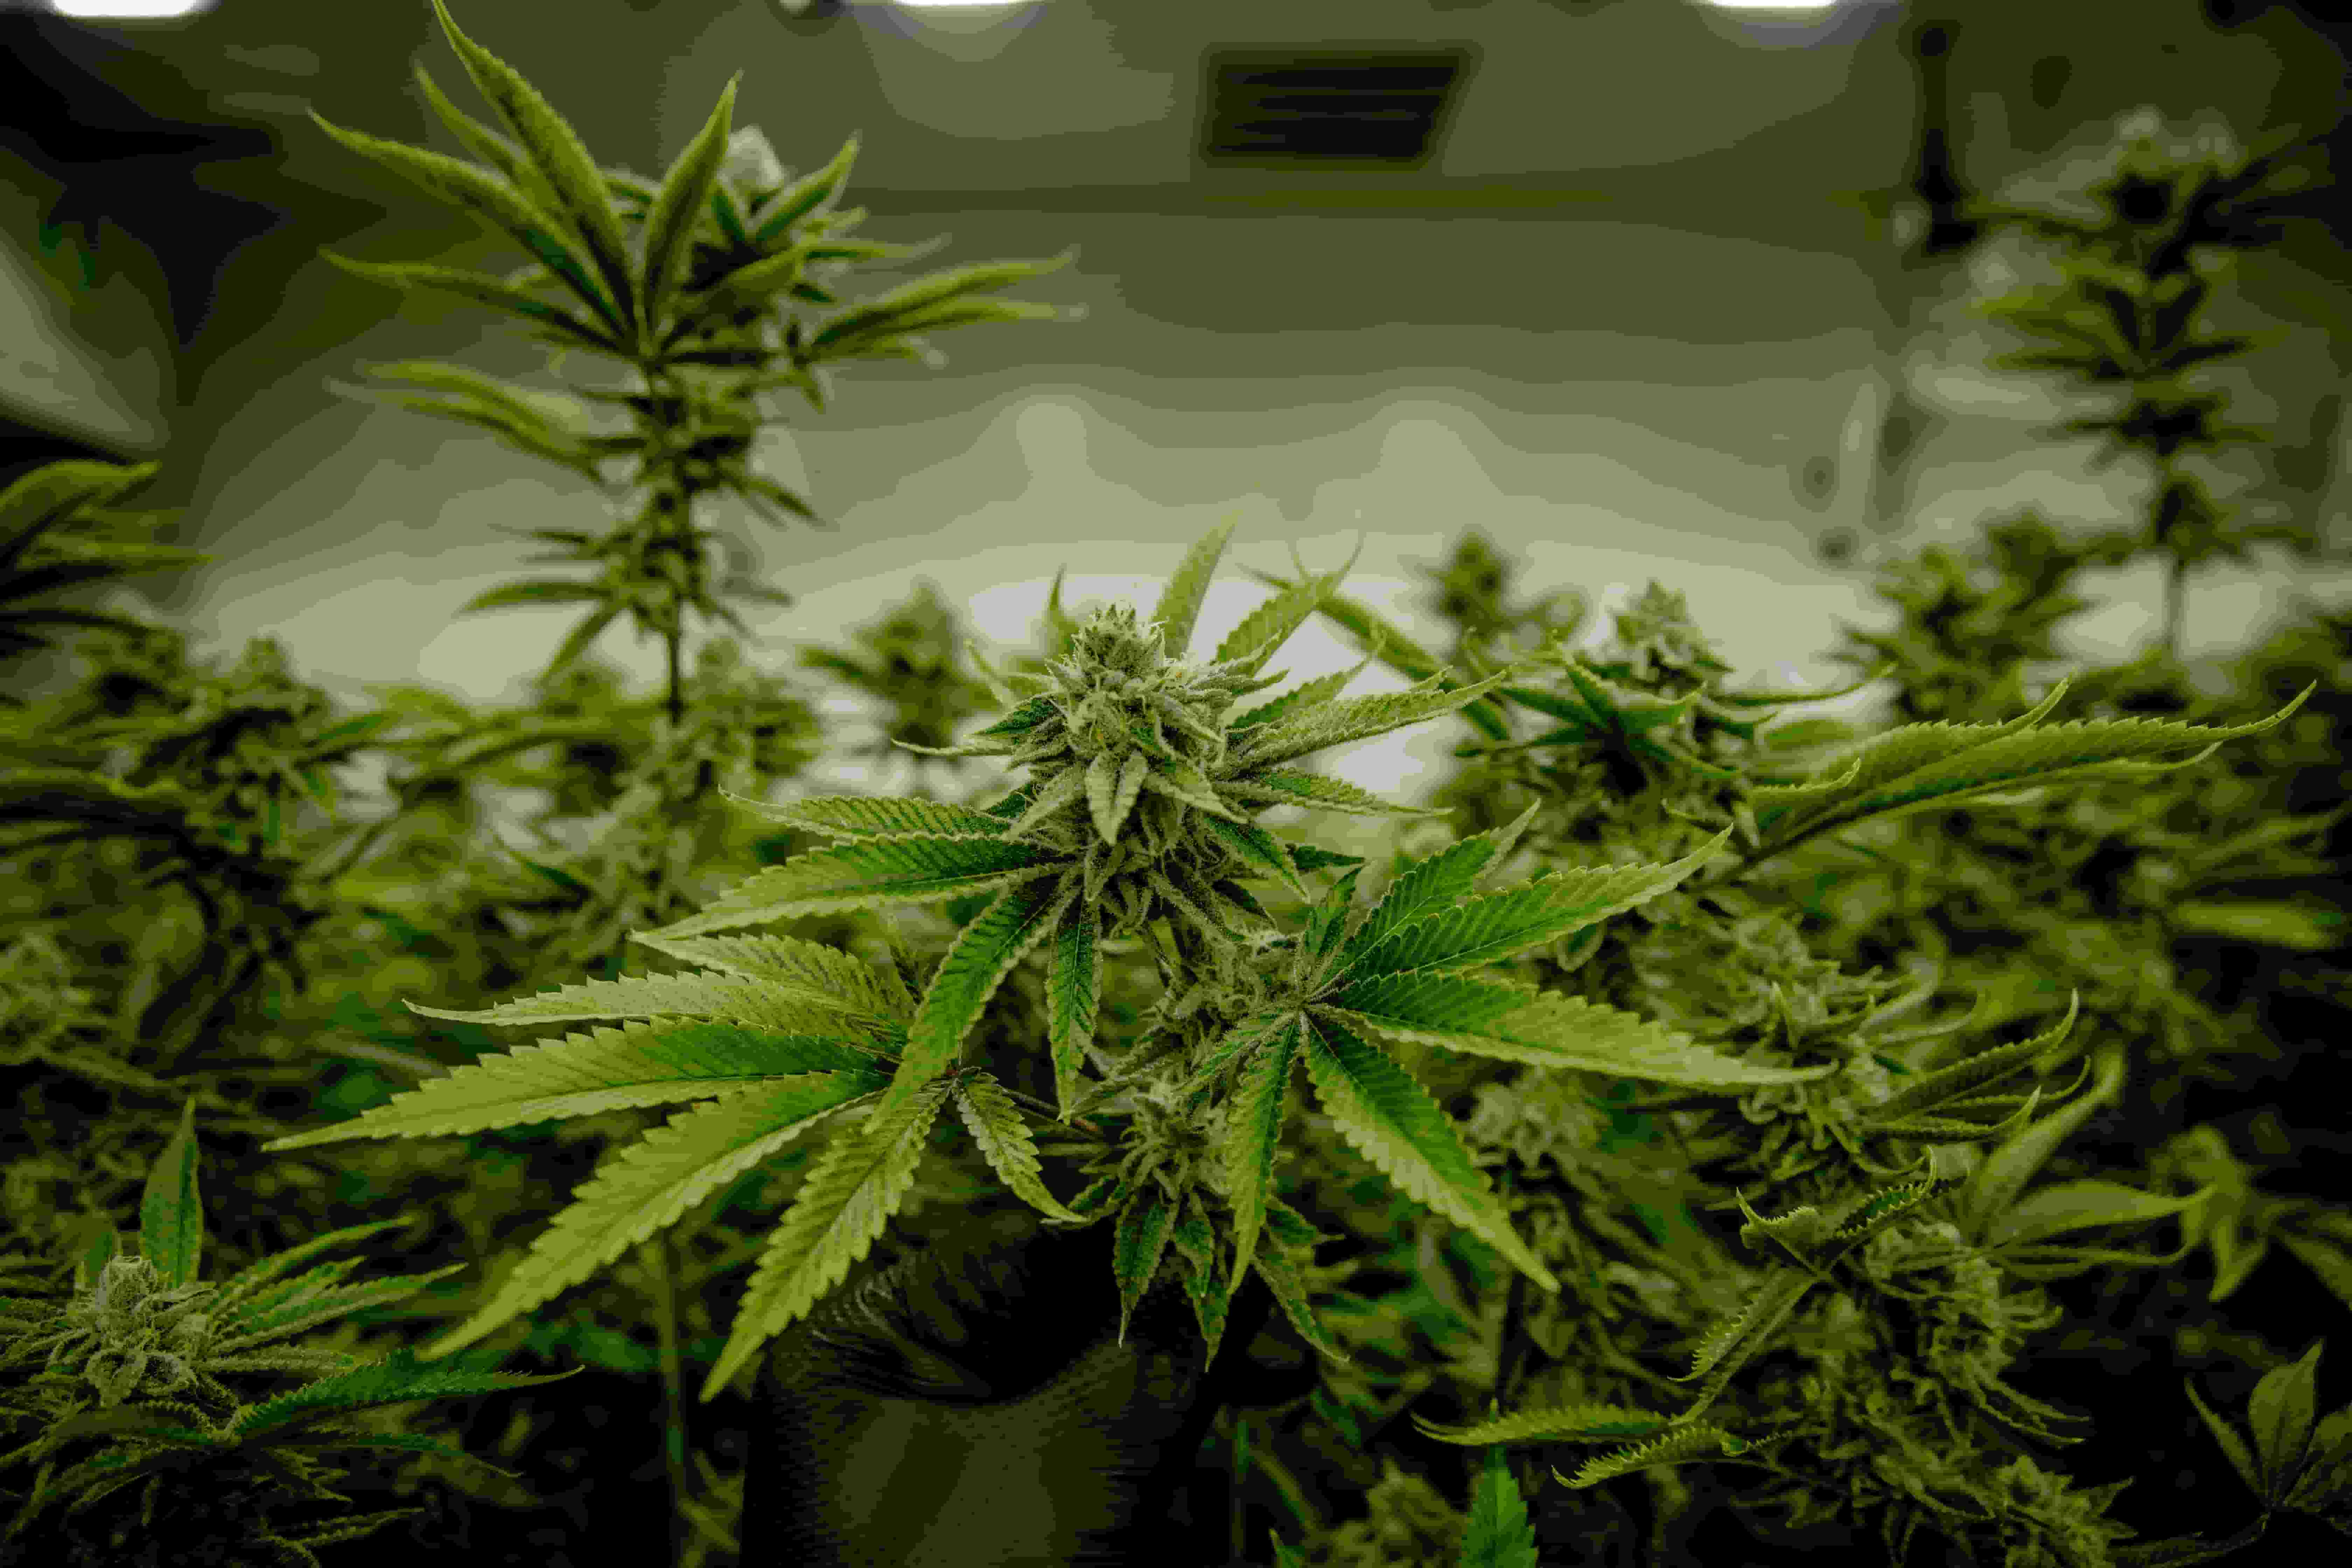
Post-Transplant Care
After you transplant your marijuana seeds into larger pots, the first few days are critical for successful acclimation. Consider these essential care tips:
- Lighting: Keep the lights at an appropriate distance to avoid heat stress. Young transplants often do best with slightly less intense light for the first 1-2 days.
- Humidity and Temperature: Aim for a relative humidity of 50-70% and a temperature around 70-75°F (21-24°C). This range is ideal for root development and minimizing stress.
- Watering Routine: Switch to a more conservative watering approach. The new soil will retain more moisture due to increased volume. Overwatering at this stage can lead to root rot or fungal issues.
- Nutrient Introduction: Slowly introduce nutrients if you’re using an inert medium like coco coir or a soilless mix. If you used a nutrient-rich soil, wait a week or so before adding fertilizers to prevent nutrient burn.
- Observation: Keep a close eye on leaves and overall plant vigor. Slight drooping immediately after transplant can be normal but should subside within a day or two.
This immediate care period can set the tone for vigorous growth. With proper moisture, temperature, and gentle lighting, the newly transplanted cannabis seedling will quickly establish itself in the new container.
Common Mistakes to Avoid
No grower is perfect, and mistakes happen, but being aware of common pitfalls can help you prevent them. Below are some frequent errors that occur when transplanting weed seeds into larger containers:
- Transplanting Too Early or Too Late: Moving seedlings too early can damage fragile roots, while waiting too long causes root binding and stunted growth. Timing is paramount.
- Rough Handling of Roots: Marijuana roots are delicate. Always handle the root ball gently to avoid breakage.
- Overwatering Post-Transplant: New growers often drench the soil immediately, assuming it helps the plant settle. Too much water can actually drown the roots.
- Using the Wrong Medium: Seedlings transplanted into a poorly draining or overly rich medium might suffer nutrient burn or root rot.
- Skipping Acclimatization: Particularly if moving plants outdoors, failing to harden off seedlings can shock them due to sudden changes in humidity, temperature, or light intensity.
By steering clear of these mistakes, you can give your cannabis seedlings every advantage to flourish.
Tips for Feminized and Autoflowering Strains
Modern cannabis cultivation has brought forth numerous seed varieties, from regular to feminized seeds, and from photoperiod strains to autoflowering types. While the fundamental transplant process remains similar, here are some special considerations:
- Feminized Seeds: Since feminized seeds are almost guaranteed to produce female plants, each seed is potentially very valuable. Handle them with extra care during transplant to avoid any risk of harming these premium genetics.
- Autoflowering Strains: Autoflowers have a shorter vegetative phase and automatically transition to flowering based on age rather than light cycle. Many growers prefer to start autoflowers in their final container to avoid transplant shock and time lost during a limited growth window. If you must transplant autoflowers, do so as early as possible to minimize setbacks.
- Photoperiod Strains: These rely on changes in light cycle to flower, offering more flexibility in veg time. You can afford to veg longer and transplant multiple times if needed, as long as you manage root health carefully.
Being aware of the specific needs of different weed seeds ensures each strain gets the tailored care it requires. Feminized seeds, in particular, can offer you the convenience of fewer “wasted” plants, making your transplant process even more crucial for maximizing yields.
Troubleshooting Transplant Shock
Even the most cautious growers sometimes encounter transplant shock. Symptoms include wilting, yellowing leaves, slowed growth, and in severe cases, plant death. Here’s how to address and recover from these issues:
- Check Watering Levels: Both overwatering and underwatering can exacerbate shock. Aim for a moderate watering schedule.
- Add a Root Stimulant: Products containing mycorrhizal fungi or beneficial bacteria can encourage root growth and speed recovery.
- Lower Light Intensity: Temporary shading or raising the grow lights can help the plant focus on root repair rather than high photosynthetic demand.
- Stable Environment: Keep temperature, humidity, and airflow consistent. Fluctuations add additional stress.
- Patience: It can take several days or even a week for the plant to fully bounce back. Monitor daily but avoid overreacting by adding excessive nutrients or drastically changing conditions.
Taking quick yet measured action when signs of shock appear can often save a struggling seedling. As always, prevention—through gentle handling and timely transplanting—is the best cure.
Organic vs. Synthetic Approaches
How you approach feeding and post-transplant care can differ greatly depending on whether you prefer organic or synthetic methods:
- Organic Growers: Often rely on compost, earthworm castings, and other natural amendments to supply nutrients gradually. Microbial life is paramount, so disturbing the root zone is minimized.
- Synthetic Growers: Use precise measurements of nutrient solutions, ensuring each macro- and micronutrient is delivered in the correct ratio. This can lead to rapid growth if applied correctly, but also a higher risk of nutrient burn if misused.
No single method is inherently superior. The key is consistency and understanding the nutrient needs of your marijuana strain as it matures. Whichever path you choose, ensure you monitor pH and EC levels to avoid overfertilization or deficiencies.
Indoor vs. Outdoor Transplants
Your transplanting approach can also differ depending on whether you’re growing indoors or outdoors:
Indoor Grows:
- Space Management: You have more control over pot size, so you can plan transplants in a staggered way.
- Light Control: Since you set the light cycle, you can give seedlings more time to recover under a less intense setting.
- Climate Control: Temperature and humidity can be kept constant, reducing transplant shock.
Outdoor Grows:
- Soil Quality: You might be transplanting directly into the ground or large fabric pots. Ensure you’ve amended outdoor soil accordingly.
- Weather Considerations: Harden off seedlings by gradually exposing them to outdoor conditions. Sudden temperature swings can be harmful.
- Pest Management: Outdoor environments have more pests. Transplanting healthy, robust seedlings lessens the chance of bug infestations or diseases.
Adapting your transplant methods to your grow environment ensures the highest survival rate and the healthiest possible plants.
Improving Yield and Quality Post-Transplant
After the transplant, a key question is: “How do I make the most of this new stage?” The following practices can help maximize yield and quality:
- Training Techniques: Low-Stress Training (LST), topping, or pruning can be introduced after the plant has recovered from the transplant. This encourages bushier growth and potentially higher yields.
- Optimized Nutrient Schedule: Gradually increase feedings as the plant grows. Monitor leaf color and tip-burn to gauge whether you’re feeding too much or too little.
- Steady Light Schedules: Whether indoors or outdoors, maintaining consistent light cycles in photoperiod strains ensures a predictable veg period before flowering.
- Pest Prevention: Use preventive measures such as neem oil or beneficial insects to keep pests at bay before they become a serious issue.
When combined, these practices help your cannabis plants channel their energy into producing potent buds with minimal stress and maximum efficiency.
Long-Term Plant Health and Maintenance
Once your cannabis seedling successfully settles into its new pot, the vegetative stage will accelerate. Strong root systems translate to vigorous growth and robust stems that can support heavy colas down the line. Keep these maintenance tips in mind:
- Regular pH Testing: Nutrient uptake depends on correct pH levels. Test runoff water to ensure the root zone remains in the optimal range.
- Proper Airflow: Position fans to move air around plants, preventing mold and strengthening stems.
- Consistent Inspection: Check leaves and stems for discoloration or pests. Early detection often means quick resolution.
- Gradual Pot Upgrades (If Needed): Some growers use a stepwise approach to transplanting. If you plan multiple transplants, ensure each pot size suits the plant’s stage.
Maintaining a clean and optimized environment after the transplant sets a solid foundation for the flowering phase. A well-cared-for plant is less prone to diseases, deficiencies, or infestations.
Conclusion
Transplanting cannabis seedlings is a pivotal step in any cultivation journey—whether you’re a hobbyist cultivating a small batch of weed seeds or a seasoned grower managing multiple marijuana strains. With proper timing, gentle handling, and careful post-transplant care, your seedlings will develop strong root systems that support lush foliage and potent buds.
Remember, every detail matters. From choosing the correct pot and preparing the ideal soil mix to closely monitoring environmental factors, each step plays a part in reducing stress and maximizing growth. Be patient, observe your plants, and make adjustments as needed. Over time, as you gain experience, you’ll refine your transplanting techniques to suit different genetics, grow setups, and personal preferences.
Whether you’re working with feminized seeds, autoflowering varieties, or classic photoperiod strains, a successful transplant sets the tone for the rest of your grow. Approach each move with care and intention, and your plants will reward you with higher yields, stronger cannabinoid profiles, and a sense of accomplishment that comes from mastering one of the most critical skills in cannabis cultivation.
Transplant confidently and watch your seedlings transform into thriving marijuana plants—an exciting journey marked by healthy roots, vigorous growth, and ultimately, a bountiful harvest.
Posted In:
Growing Cannabis
Disclaimer
The information provided on this website, including all articles, guides, and resources within the Cannabis Seeds Blog, is intended for educational and informational purposes only. While we strive to deliver accurate, up-to-date, and research-based content, we make no guarantees regarding its completeness, reliability, or suitability for your specific situation.
Cannabis cultivation, possession, and use are subject to local, provincial/state, and federal laws that vary widely by region. It is the sole responsibility of the reader to understand and comply with all applicable laws before purchasing seeds, germinating seeds, or engaging in any form of cannabis cultivation. Nothing on this website should be interpreted as legal advice, medical advice, or encouragement to violate any regulations.
All strain reviews, cultivation tips, and product recommendations reflect general knowledge and personal or industry experience; individual results may vary depending on environmental conditions, grower skill, genetics, and other factors. Growing cannabis always involves risks, including crop failure, pests, mold, and financial loss. By using this website, you acknowledge that any actions you take based on the information provided are done at your own discretion and risk.
If you have questions regarding legality, health considerations, or professional cultivation practices, we strongly recommend consulting with a licensed legal professional, healthcare provider, or qualified horticulture expert.
By accessing this blog, you agree that the website, its authors, and its affiliates shall not be held liable for any damages, legal consequences, or losses arising from the use or misuse of the information provided.